DIY Glam & Chic Dresser + Vanity Tour!
O’verlays (Jasmine)
I’m so excited to work with O’verlays for this DIY!
Thank you so much O’verlays for helping me glam up my dresser/vanity area 🙂

Before
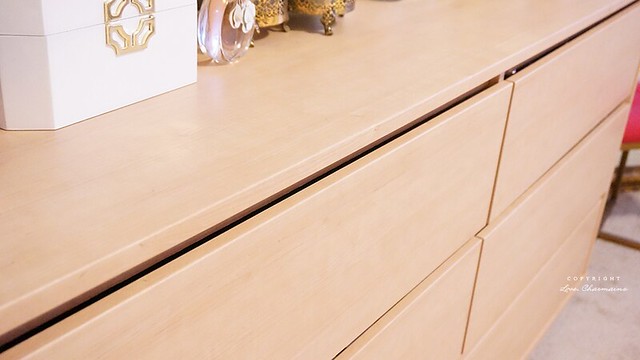
Excuse the quality of this photo, it was taken at nighttime. But yes, this is what my dresser looked like before glamming it up. Don’t get me wrong, there’s nothing wrong with it but you guys know how I feel about “white & gold” ♥ hehe Plus I really wanted to have a new look for my office/beauty room, so what better way to do it than glamming up pretty much the main piece of the room!?

Dresser is from Target -purchased Summer 2013
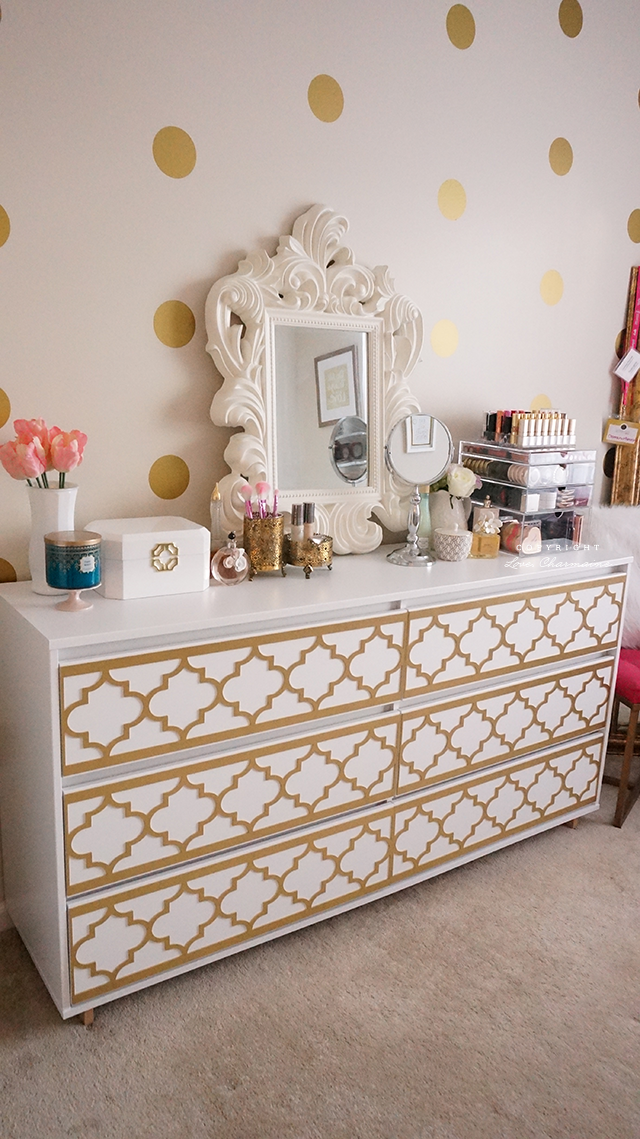
and After
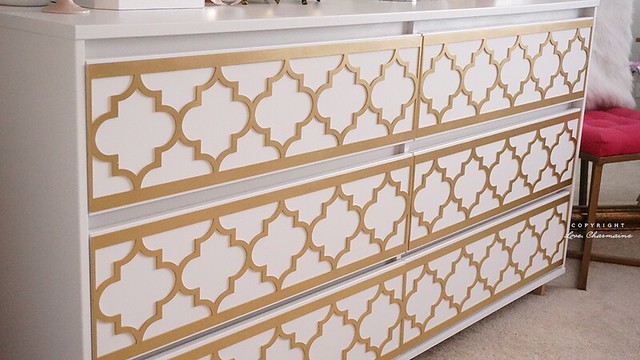
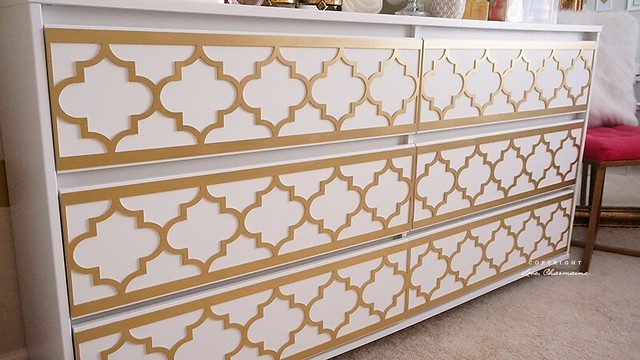
After two coats of paint the adding the gorgeous O’verlays, it is finished!!!
Quick Step-by-Step
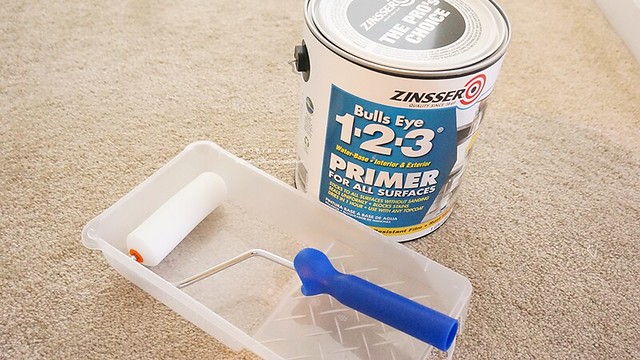
1. Make sure to wipe down your furniture with a clean cloth.
2. Prime your furniture and let it dry for a few hours or overnight.

3. This is optional but we sanded my dresser down before applying the first coat of paint.
4. Paint your furniture – we ended up doing two coats on my dresser (wait a few hours to do the 2nd coat).
Let it dry overnight.
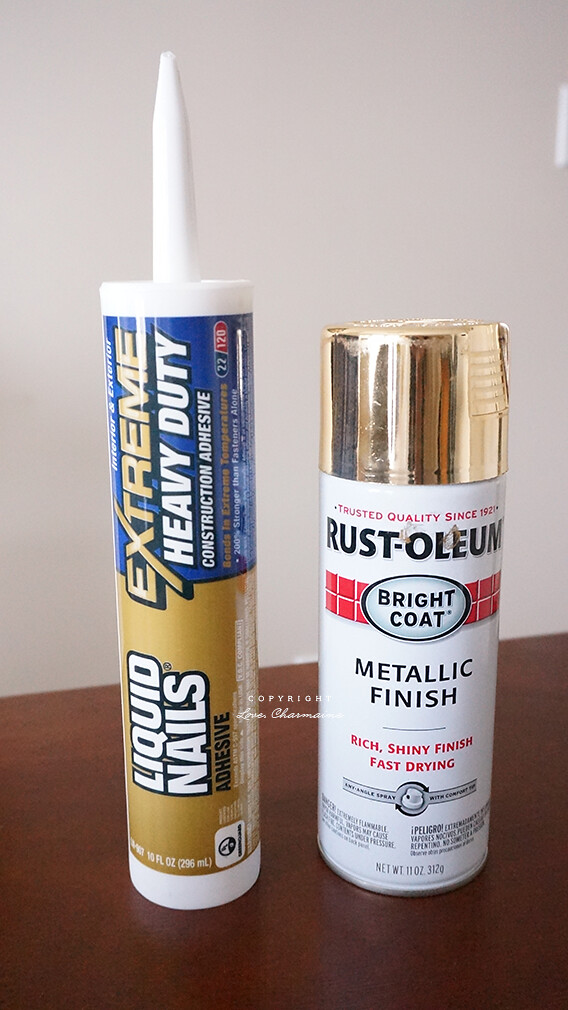
5. Clean and cut your O’verlays to size.
6. Spray paint if needed.
7. Glue your O’verlays onto furniture (read instructions that comes with your O’verlays).
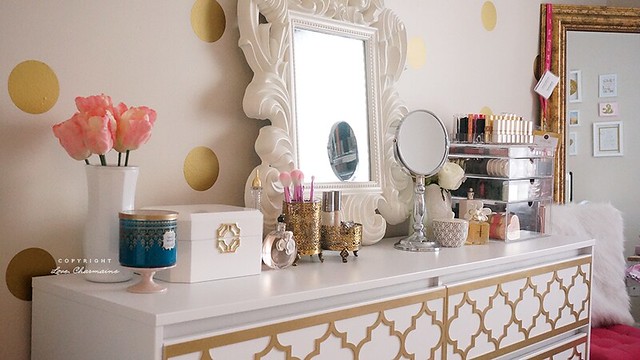



Brushes from SLMissGlam Beauty
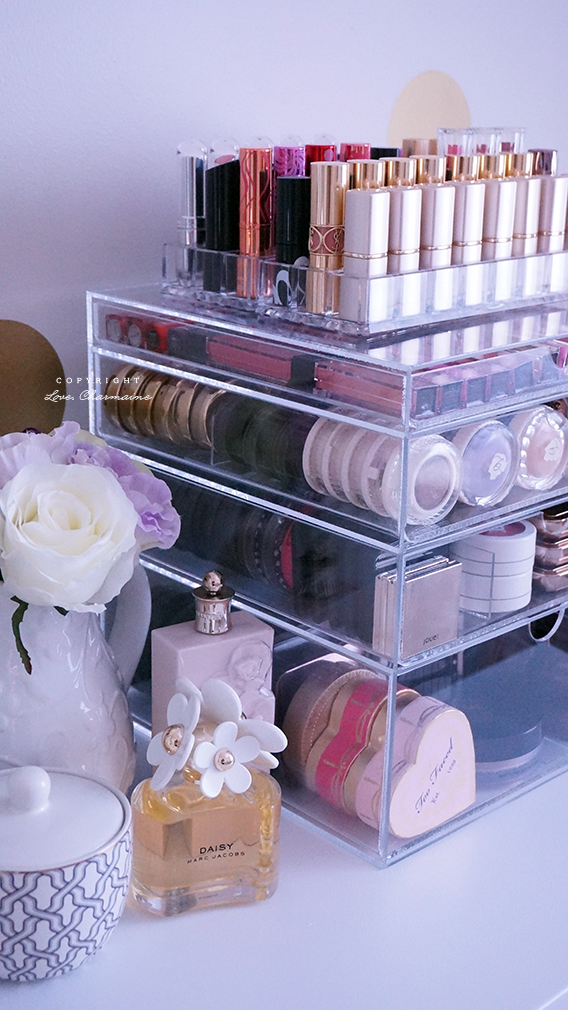
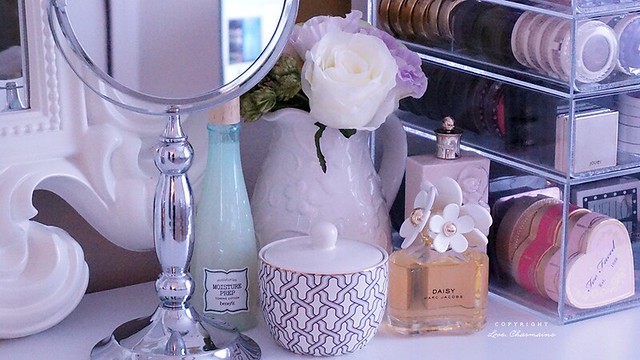
PB Teen Filigree Beauty + Jewelry Storage Collection

I hope you enjoyed this post!
’til next time! xoxo




Wow your vanity looks stunning!
Candice | Beauty Candy Loves
♥♥♥
Hi Charmaine, You did a beautiful job! Your room looks brilliant. -Cheryle
Your amazing 🙂 & your room, omg!
I just send you a letter by mail <3 hope you receive it soon XO
Where did you get your overlays. Were they expensive?
Link is in the post!